How to Build Your Own Aeroponic Tower at Home
Aeroponic towers are revolutionizing home gardening by allowing you to grow fresh produce in a compact, vertical space.
Unlike traditional soil-based gardening, aeroponics uses a misting system to deliver nutrients directly to plant roots, resulting in faster growth and higher yields.
Whether you’re an urban gardener with limited space or a gardening enthusiast looking for a sustainable solution, building your own aeroponic tower at home is easier than you might think.
In this article, we’ll guide you through the process, from understanding the basics to assembling your tower and maintaining it for optimal results.
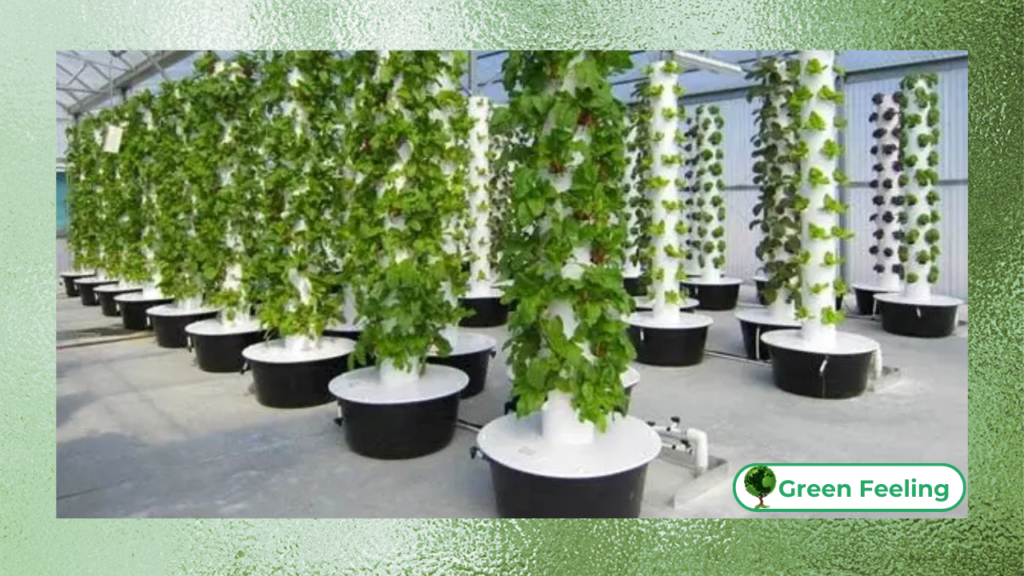
The Rise of Aeroponic Gardening
Aeroponics is a soilless gardening method that grows plants in an air or mist environment.
This innovative technique uses up to 90% less water than traditional gardening and allows plants to grow faster and healthier.
Aeroponic towers, in particular, are ideal for urban settings or small spaces, as they maximize vertical space and minimize the need for soil.
Building your own aeroponic tower at home is not only a fun DIY project but also a sustainable way to grow fresh herbs, vegetables, and fruits year-round.
With a few basic materials and some patience, you can create a thriving garden that’s both efficient and eco-friendly.
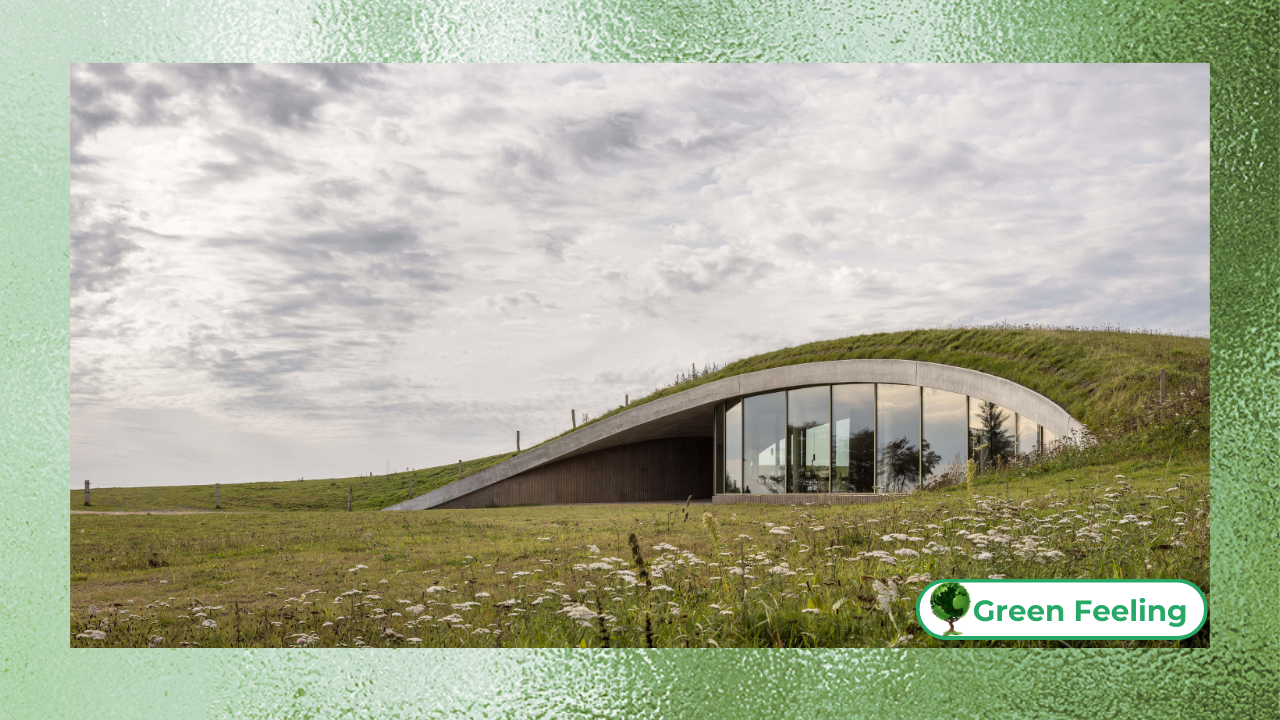
+ Nature and Design: Biophilic Architecture and Its Practical Applications
What You’ll Need to Build an Aeroponic Tower
Before you start, gather the following materials and tools:
- PVC Pipe or Tower Structure: A vertical structure to hold the plants. A 4-6 inch diameter PVC pipe works well.
- Net Pots: Small pots to hold the plants and their roots.
- Misting System: A pump, tubing, and misting nozzles to deliver nutrient-rich water to the roots.
- Reservoir: A container to hold the water and nutrient solution.
- Growing Medium: Lightweight materials like rockwool or clay pellets to support the plants.
- Nutrient Solution: A balanced mix of nutrients for plant growth.
- LED Grow Lights (Optional): For indoor setups, to provide adequate light for photosynthesis.
- Drill and Hole Saw: To create holes in the PVC pipe for the net pots.
- Timer: To automate the misting system.
Step-by-Step Guide to Building Your Aeroponic Tower

Follow these steps to assemble your aeroponic tower:
- Prepare the Tower Structure:
- Cut the PVC pipe to your desired height (typically 4-6 feet).
- Use a hole saw to drill evenly spaced holes for the net pots. Ensure the holes are large enough to hold the pots securely.
- Set Up the Reservoir:
- Place the reservoir at the base of the tower. This will hold the water and nutrient solution.
- Connect the water pump to the reservoir and attach the tubing.
- Install the Misting System:
- Run the tubing up the center of the PVC pipe and connect it to the misting nozzles.
- Position the nozzles so they can spray the roots of the plants evenly.
- Add the Net Pots and Plants:
- Fill the net pots with your chosen growing medium and insert the plants.
- Place the pots into the holes in the PVC pipe.
- Set Up the Timer:
- Connect the water pump to a timer to automate the misting cycles. A typical cycle is 15 minutes on and 45 minutes off.
- Add Grow Lights (If Needed):
- For indoor setups, install LED grow lights above the tower to ensure your plants receive enough light.
- Fill the Reservoir:
- Add water and the nutrient solution to the reservoir. Ensure the pump is fully submerged.
- Test the System:
- Turn on the pump and check that the misting system is working properly. Adjust the nozzles if necessary.
Tips for Maintaining Your Aeroponic Tower
To keep your aeroponic tower thriving, follow these maintenance tips:
- Monitor Nutrient Levels: Check and replenish the nutrient solution every 1-2 weeks.
- Clean the System: Regularly clean the reservoir, pump, and nozzles to prevent clogs and algae growth.
- Prune Plants: Trim excess growth to ensure all plants receive adequate light and nutrients.
- Check pH Levels: Maintain a pH level between 5.5 and 6.5 for optimal nutrient absorption.
- Inspect for Pests: Keep an eye out for pests and treat them promptly with organic solutions.
Benefits of an Aeroponic Tower
Building and maintaining an aeroponic tower offers numerous benefits:
- Space Efficiency: Perfect for small spaces, as it grows vertically.
- Water Conservation: Uses up to 90% less water than traditional gardening.
- Faster Growth: Plants grow faster due to direct nutrient delivery.
- Year-Round Gardening: Can be used indoors or outdoors, allowing for year-round harvests.
- Eco-Friendly: Reduces the need for soil and chemical fertilizers.
Aeroponic Tower: A Table Overview
Below is a table summarizing the key components and benefits of an aeroponic tower:
| Component | Description | Benefits |
| PVC Pipe | Vertical structure to hold plants. | Space-efficient, customizable. |
| Net Pots | Hold plants and growing medium. | Easy to install and replace. |
| Misting System | Delivers nutrient-rich water to plant roots. | Promotes faster growth and higher yields. |
| Reservoir | Holds water and nutrient solution. | Easy to refill and maintain. |
| LED Grow Lights | Provides light for indoor setups. | Ensures optimal plant growth. |
| Timer | Automates misting cycles. | Saves time and ensures consistency. |
Challenges of Building an Aeroponic Tower
While aeroponic towers offer many benefits, there are some challenges to consider:
- Initial Setup Cost: The materials and equipment can be expensive upfront.
- Technical Knowledge: Requires some understanding of hydroponics and plumbing.
- Maintenance: Regular cleaning and monitoring are necessary to prevent issues.
- Power Dependency: The system relies on electricity for the pump and lights.
Solutions to Overcome Challenges
To address these challenges, try the following solutions:
- Start Small: Build a smaller tower to test the system before scaling up.
- Learn and Experiment: Research aeroponics and experiment with different setups.
- Use Quality Materials: Invest in durable materials to reduce maintenance needs.
- Backup Power: Consider a battery backup for the pump in case of power outages.
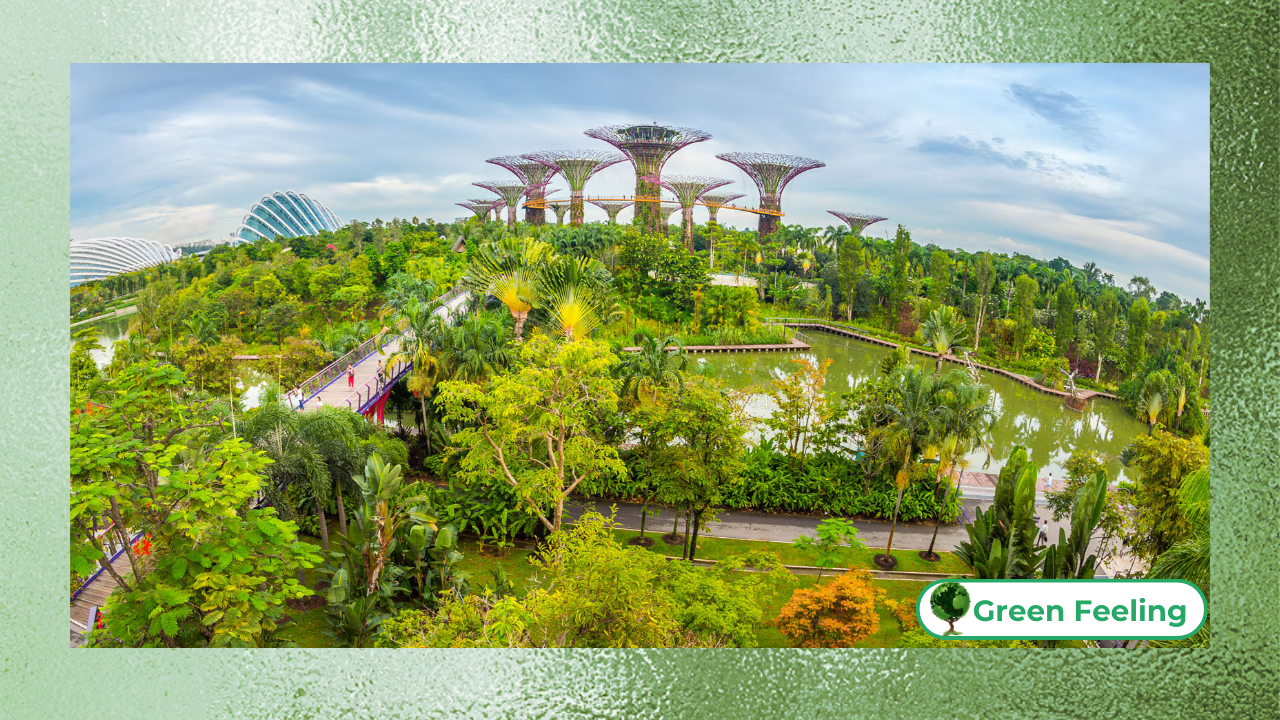
+ Green Cities: See the cities
Did You Enjoy Learning About Aeroponic Towers?

Building your own aeroponic tower is a rewarding project that combines innovation, sustainability, and gardening.
By following the steps and tips in this guide, you can create a thriving vertical garden that produces fresh, healthy produce year-round.
Whether you’re growing herbs, vegetables, or fruits, an aeroponic tower is a smart and eco-friendly solution for modern gardening.
As urban farmer once said,
“Gardening is the most therapeutic and defiant act you can do, especially in the inner city.” – Ron Finley.
This quote highlights the transformative power of gardening, even in the most unlikely spaces.
+ Vertical Gardens: The Green in Urban Spaces
Conclusion
Aeroponic towers are a game-changer for home gardening, offering a sustainable and efficient way to grow fresh produce.
By building your own tower, you can enjoy the benefits of faster growth, higher yields, and water conservation, all while maximizing limited space.
Whether you’re an experienced gardener or a beginner, this project is a fantastic way to embrace sustainable living and take control of your food supply.
So, gather your materials, follow the steps, and start building your aeroponic tower today.
With a little effort and creativity, you can transform your home into a green oasis and enjoy the fruits (and vegetables) of your labor.
References and Further Reading
- FINLEY, R. The Ron Finley Project: A Guide to Gardening in Any Space. HarperOne, 2020.
- RESH, H. Hydroponic Food Production: A Definitive Guidebook for the Advanced Home Gardener. CRC Press, 2016.
- Aeroponics Basics – NASA
- Building an Aeroponic Tower – Epic Gardening
- Benefits of Aeroponic Gardening – Urban Farm Online